
Have you ever wished you could add an animated parrot to your video calls? Or deliverer a “picture in picture” presentation, allowing you present your teaching materials like a TV meteorologist? Me too! However, the customisation options available through Microsoft Teams (and other video conferencing software) is woefully limited.
However, watch any professional live stream and you will see this kind of visual embellishment regularly. So how do they do it? The secret involves a free piece of software called OBS (Which you can download here) , which is a recording, production, and streaming pipelines. Put simply, OBS allows you to capture a visual feed (such as a webcam, or software window), apply production tools to that feed, and broadcast this feed on a variety of platforms.
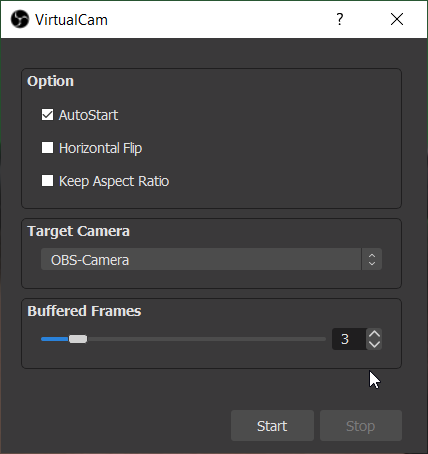
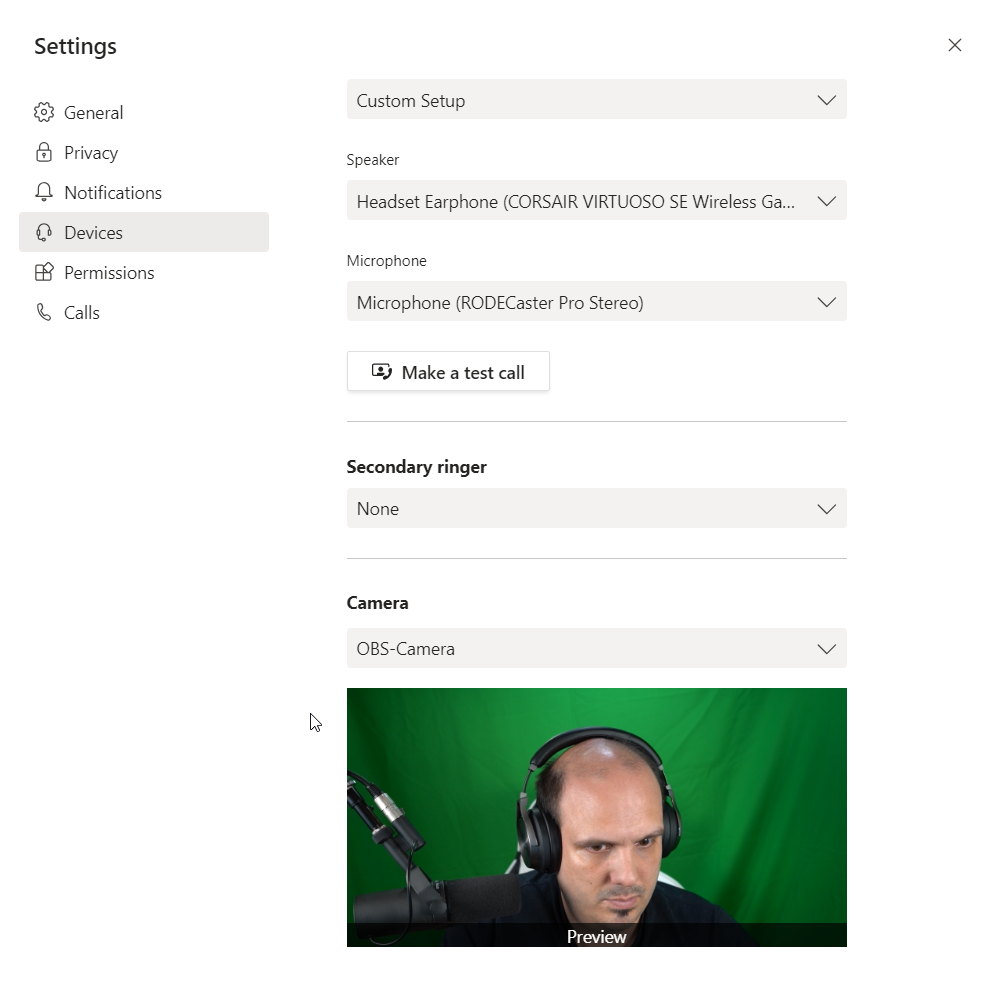
However, OBS doesn’t (by default) support video broadcast through video conferencing software – because these tools look for your webcam, rather than a live video feed. So, to allow us to use the OBS production pipeline we need to convince your computer that it is actually a webcam! Fortunately someone has already written a tool to allow us to do that called “Virtual Camera” which is a free plugin extension for OBS. This allows you to setup OBS to be detected by your computer as a webcam. Once Virtual Camera has been installed simply start the webcam feed by going into the OBS tools menu, clicking on “VirtualCam” and pressing start. Once you do this you should see “OBS-Camera” as one of your webcam options. In the image below I have shown how this looks in Microsoft Teams.
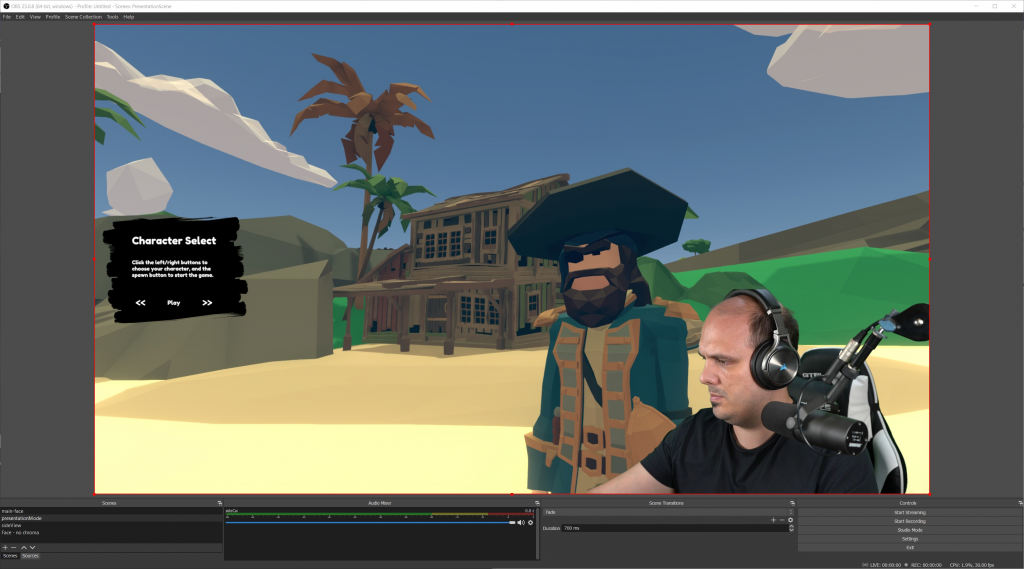
However, at the moment OBS will be showing a blank screen without even showing your webcam. To do anything interesting you will first need to create a scene and sources. You can think of scenes as different layouts, and sources are the visual elements that those layouts contain.
For example, I have two different camera angles on my computer setup, so I always create two scenes. One for my main camera, and one for the camera that captures my side profile. Creating scenes means that I can quickly switch between these two camera angles during a broadcast. In the “maincam” scene I add my forward-facing webcam as a source, in my “sidecam” scene I add my side-facing camera as a source. If you have got this far, then your virtual OBS camera should show whatever scene that is currently live – but this will just be your webcam (no fancy background or animated parrot).
In the following video I have shown you how you can get so much more out of OBS using a chroma key filter. To do this you will to be in front of a solid coloured wall or sheet (either green or blue). You can buy Chromakey fabric very cheaply online, for example, my green screen cost my £10 (delivered). The steps to get chromakey working in OBS are:
- Create a new scene in OBS and give it a name.
- Add your webcam as a video source, and scale as large (or small) as you like.
- Right click on the source, and click on the “filters” option.
- Under effects filters, add a new Chromakey filter.
- Based on your lighting, and the exact colour of your screen you may need to tweak the settings to make this work well.
Now you have removed the background from your webcam you can take full advantage of the other tools in OBS. You can add image backgrounds by simply dragging and dropping images onto your scene, you can even create overlays using transparent PNGs or animated GIFs.
To get even more functionality out of OBS you can capture other software including games and presentations as an input source (in the same way as you would add your webcam). You can even capture full screens as a direct feed into OBS, effectively allowing you to “share screen” through whatever conferencing software you wish regardless of whether it supports it by default or not. This can be really useful if you ever need to quickly demonstrate something.
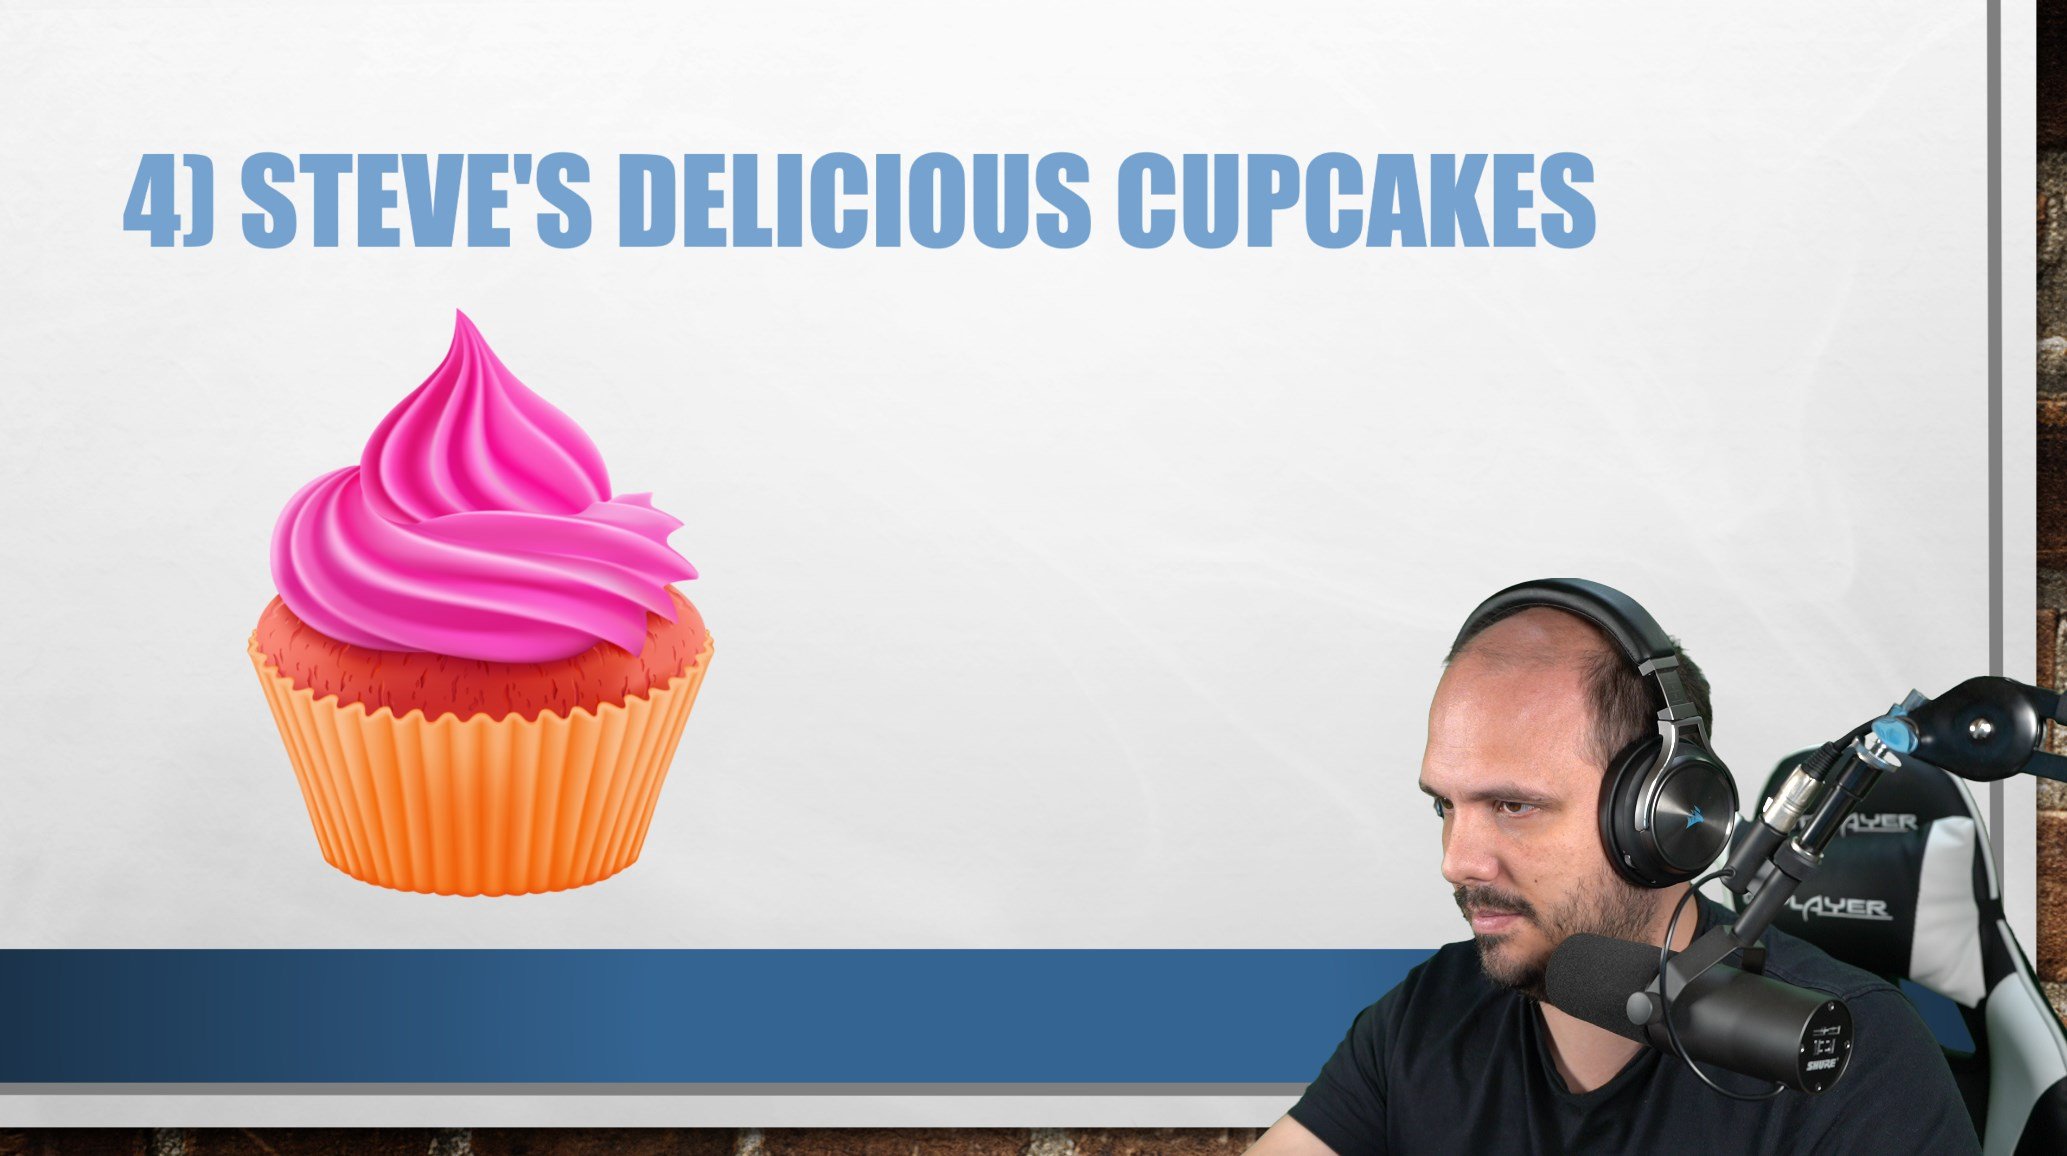
For example, I have found the screenshare and presentation options through Teams to be a little unreliable. By taking this approach I can present my powerpoint slides directly through my webcam feed, while still keeping my head and shoulders in picture (if I want). Avoiding the awkward “can everyone see my screen?!?” conversation that happens at the start of every virtual-seminar.
Beyond the functional benefits you can also have a little fun with your feed. In the same way that you can drag image backgrounds you can also pull in animated GIFs. I went onto https://giphy.com/ and found a bunch of animated animals including pugs in outfits, a giraffe and a parrot, and created this adorable scene. Honestly, this fills me with such a silly level of absolute joy – and (let’s be honest) we all need a little lockdown joy right now.

I could talk about OBS and the benefits of virtual cameras all day. But I have tried to keep this post as “concise” as possible. I really recommend you install OBS and have a play with the functionality. Even if you don’t make use of chromakey, or picture in picture scenes, or adorable animal animations there are still loads of tools that you can make use of in your digital learning! For example, OBS has fantastic recording facilities, so I will be making extensive use of it to record my video mini-lectures next year.
I really hope you have found this post useful, and that it has opened to your eyes to the opportunities of using OBS in your Teaching and Learning. OBS is completely free and used all over the world. So give it a try!
No responses yet