I’ve been speaking to a number of colleagues from across the sector regarding the delivery and streaming of practical sessions. In Computer Science (with a few exceptions) we don’t have the same issues, as almost everything we do is in software, this is super easy to deliver just using screen-share tools. However, the reality in other lab-based practical subjects is often very different.
For example, if you are demonstrating a specific piece of lab equipment, how can you deliver that? Especially if you are doing this in a live lab environment? The camera angle that works for you, may not suite a close demonstration of a microphone (for example).
One option I’ve seen discussed is to have one wireless camera that you move around based on need. However, this is clumsy and has issues with setup time and focusing. While it could work perfectly for a pre-recorded video it would look very disjointed in a synchronous delivery mode.
One solution I have suggested to friends is multi-camera broadcasting, which is easy to setup using OBS (Open Broadcast Software) which I discussed in a previous post.
How To Setup Multi-Camera Broadcasting in OBS
Next year I will be teaching some paper-based games design workshops do I will want to highlight what I’m sketching, cutting and gluing. To achieve this I’ve made some modifications to my home filming rig. So I’ve based my example on my own rig to simplify explanation.
1) Decide on Your Camera Angles
On my personal rig I have three camera angles.
- (Camera 1) Front facing camera to capture my face.
- (Camera 2) B-Cam on a slight off-angle to capture my face from one side.
- (Camera 3) A downwards facing camera to capture my sketching.
I use these to create specific views and effects when I present, they are specific to how I want to record sessions. How you set up your cameras would probably be very different. For example, a microbiologist may choose to have one “face cam”, one camera pointing at a microscope so that the audience can see how it is used, and a third camera attached to the microscope itself to capture what is being seen through the lens (as a nb, there are a number of excellent USB microscopes available).
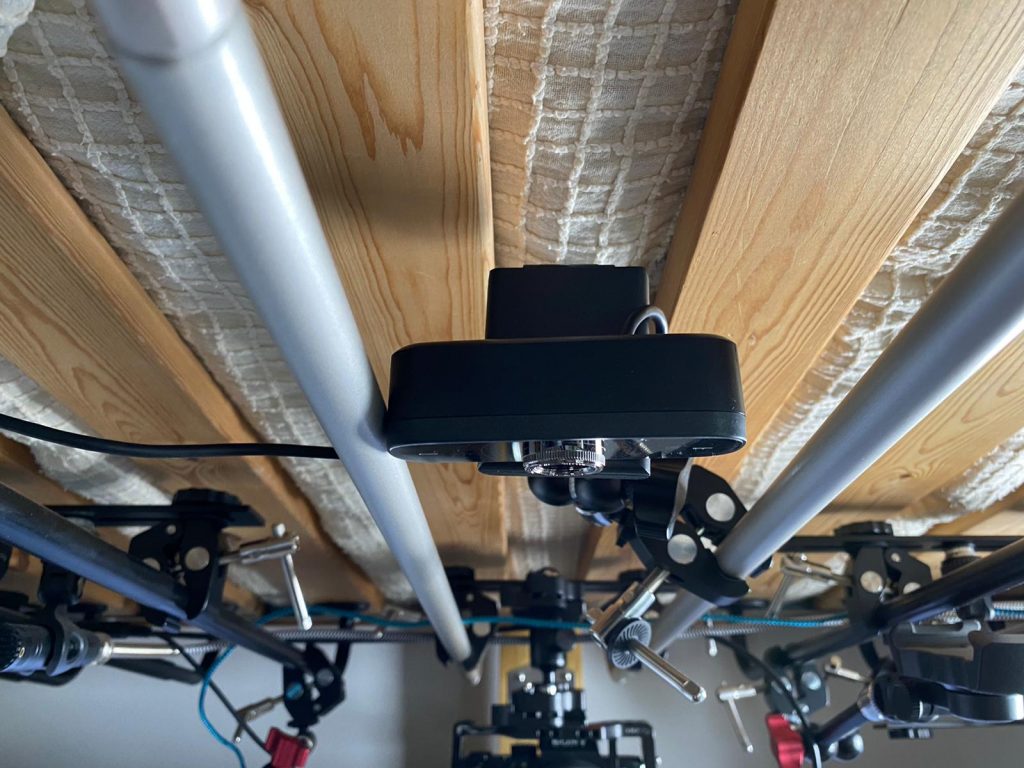
My downwards facing drawing camera 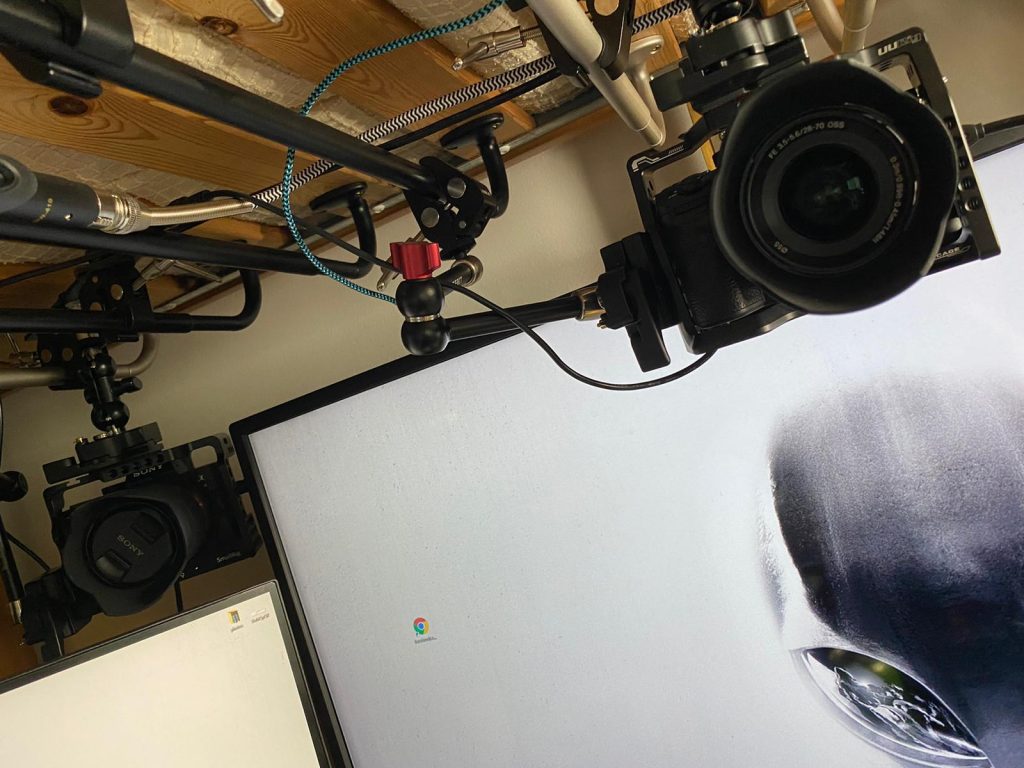
My mirrorless camera for recording my face.
2) Create your Scenes and Sources in OBS
- Open up OBS and create a new scene collection. (Scene collection > New )
- Create the number of scenes that you want. Scenes are groups of sources such as video feeds, displays, and graphics. You can switch between scenes to change sources, or adjust layoutas as ou need. You can switch between them to have different layouts, or to change the sources you use. In my example, I have created one scene for each of my three camera angles.
- Go into each scene and select the sources you want to add to the scene. In my example I have added each of my cameras to a different scene so that I can switch between them. Additionally, I use my side-view camera for presenting so I have rescaled that into the bottom right corner – to recale drag the tabs on the corners of the source.
- If you want to crop a source hold down the ALT key while moving the tabs, instead of scaling it will crop the source window.
- Add any other sources, overlays or graphics that you wish. You could (for example) overlay your university crest over part of your graphic. In my example I have added a “display” source so that I can present whatever is on my desktop. In this example, I am going to present some delightful GIFs.
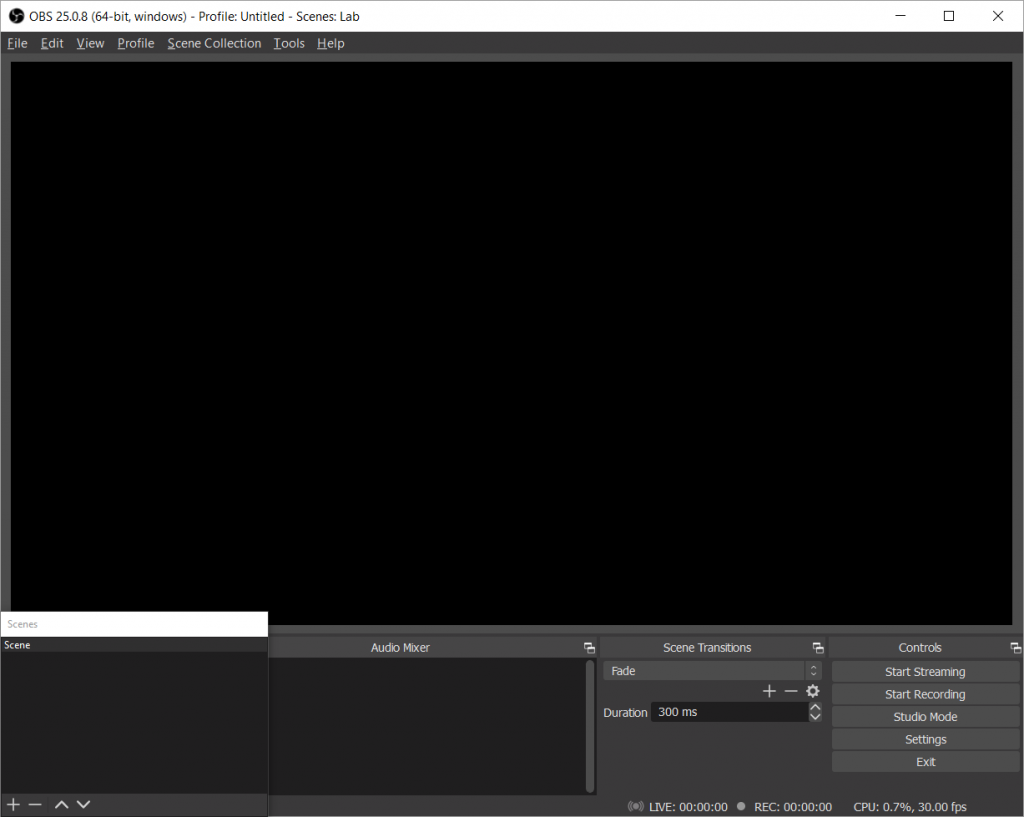
Start with a an empty scene collection. 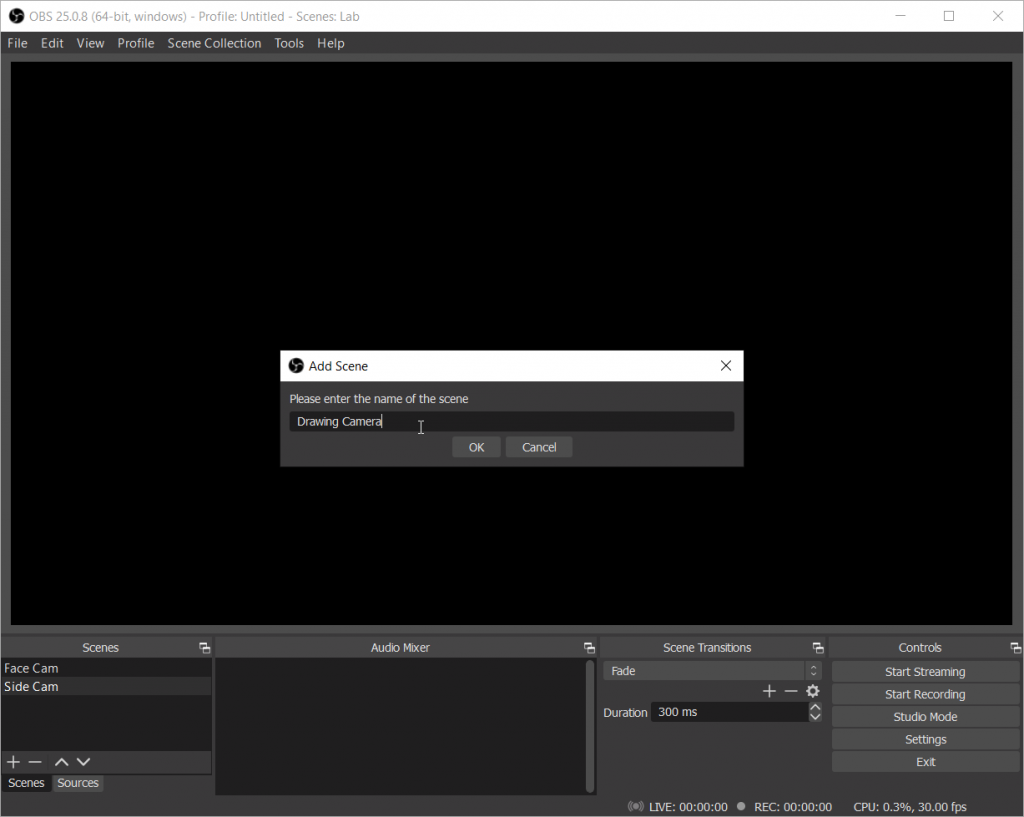
Create the individual scenes you want to include. 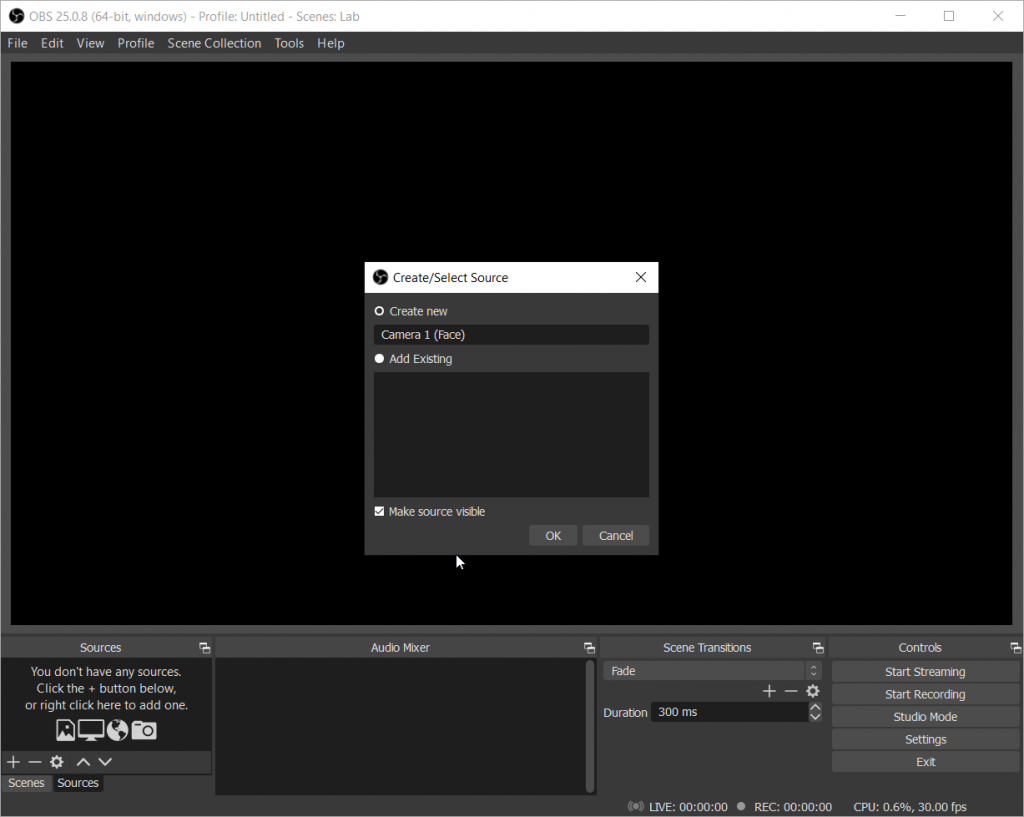
Open your first scene and add the sources you want to use. 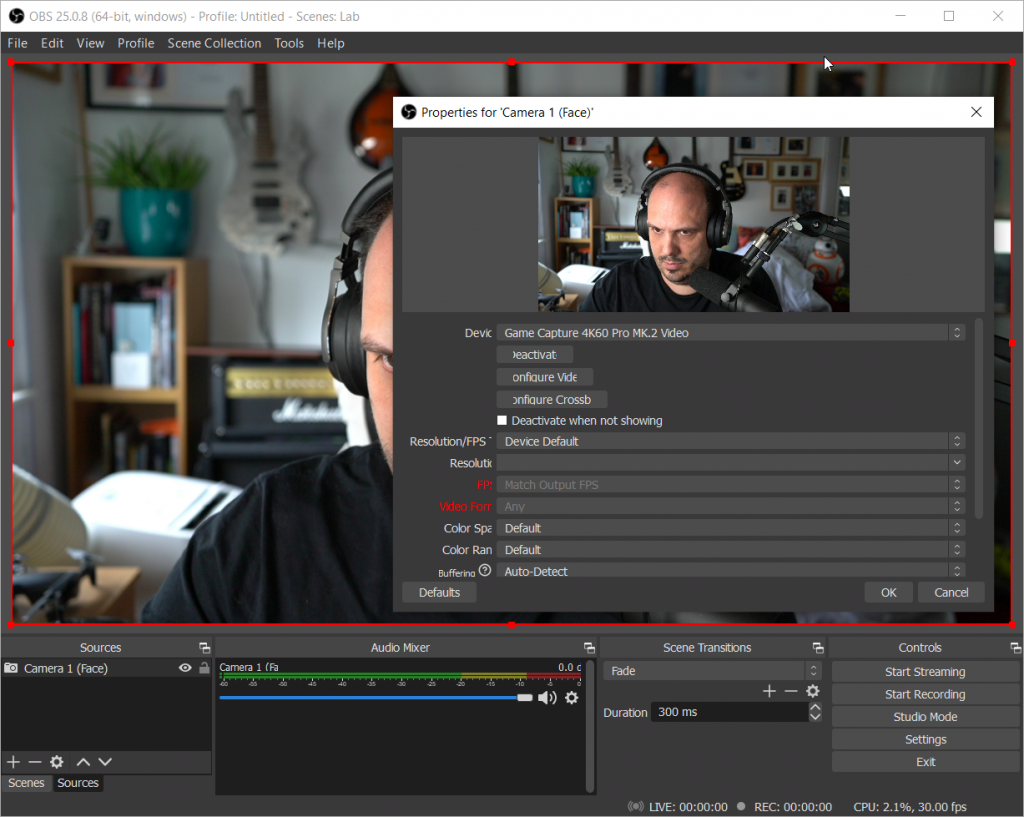
For my first scene I have included my front facing camera as the only source. 
When naming your sources use titles you will remember. 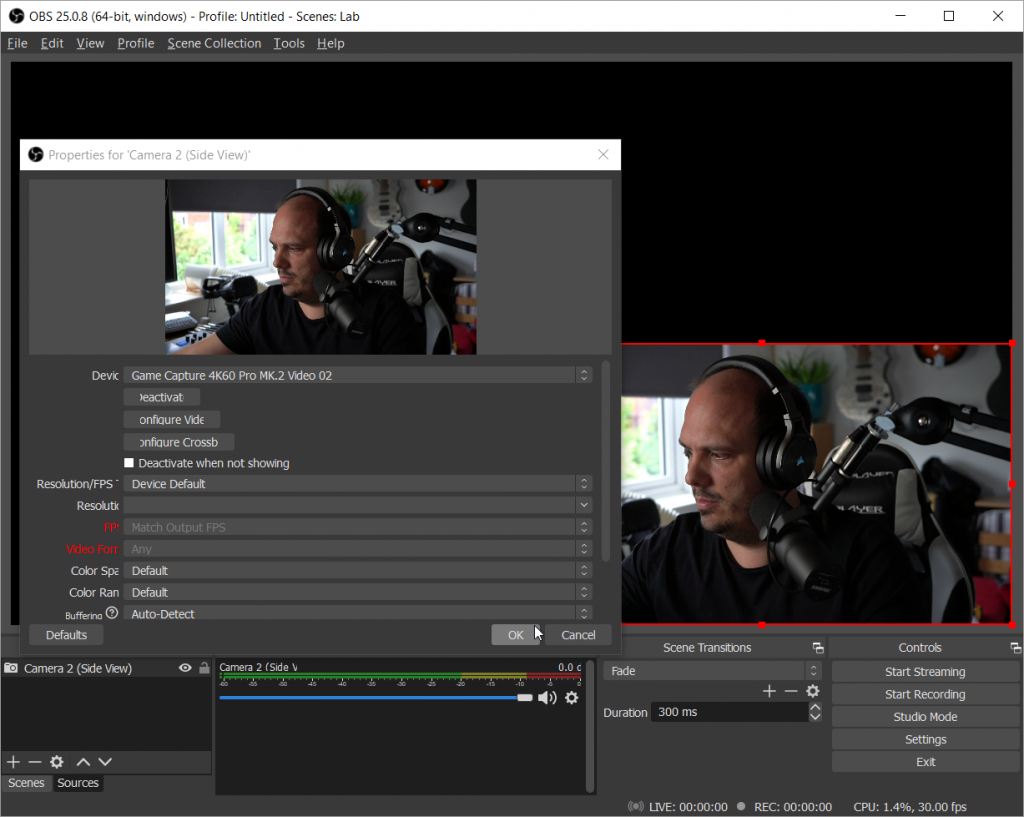
In my second scene I have added my side camera as a source. 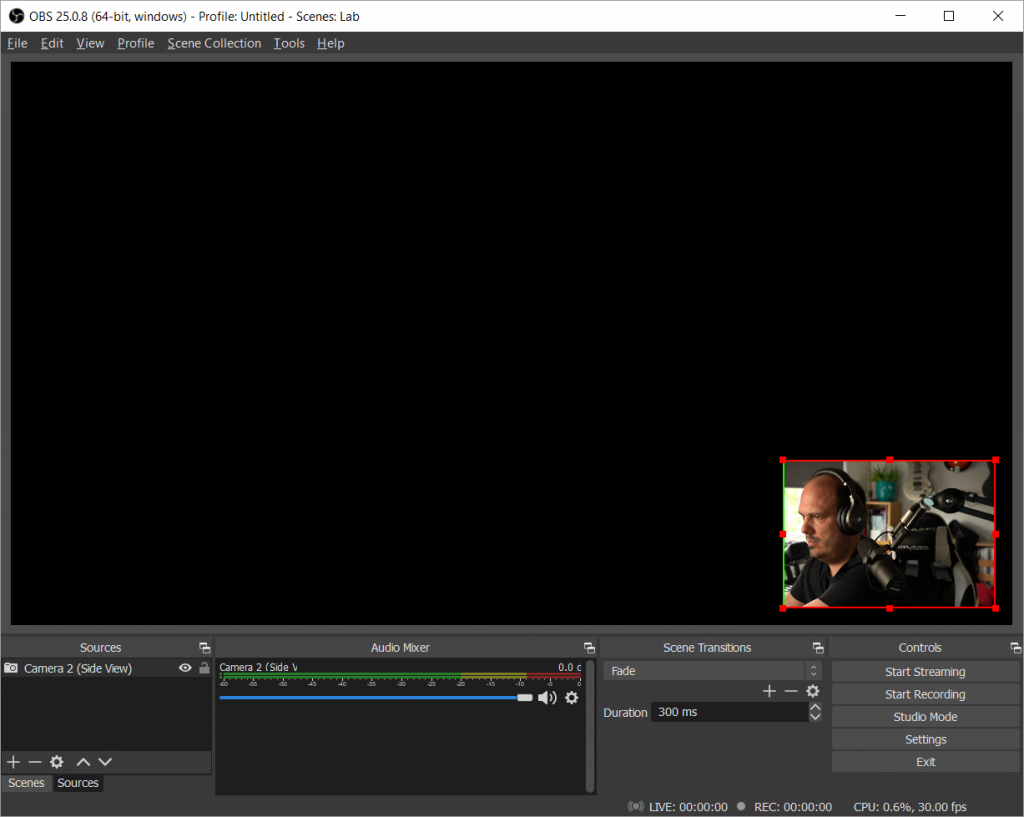
To scale a source drag the tabs on the edges. To crop hold ALT while doing the same. 
I have cropped my side camera to put myself on the screen while I present. 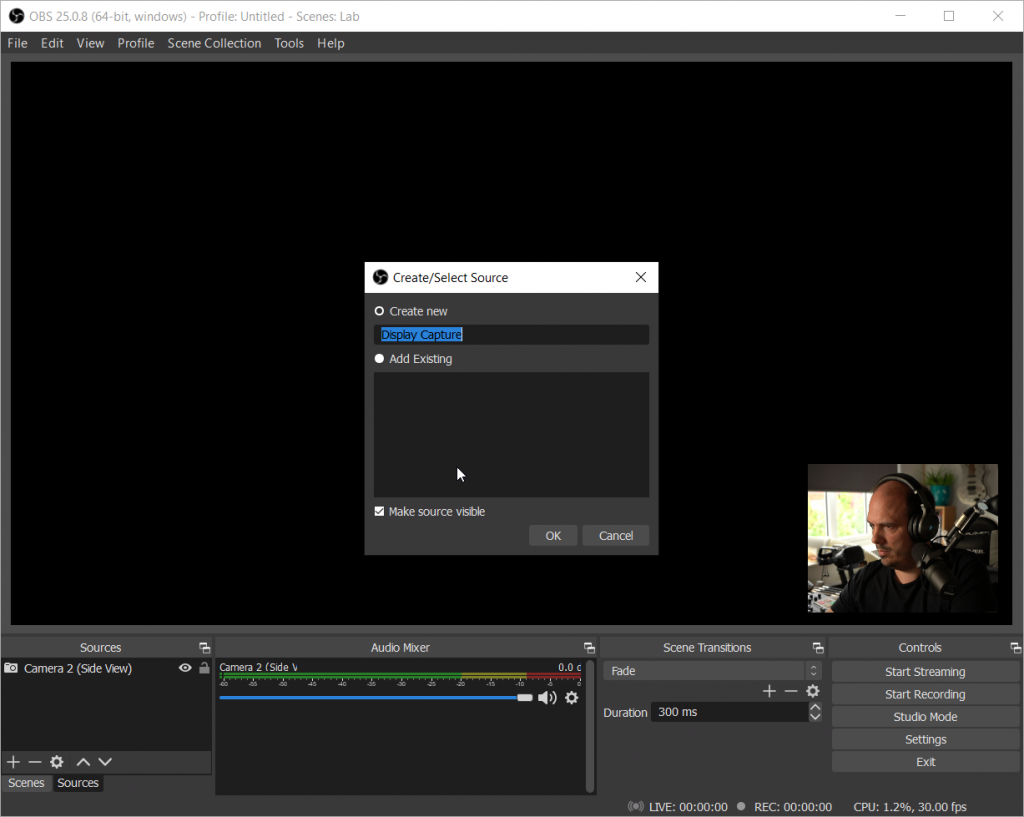
I want to present content on my desktop so I have added my display as a source. 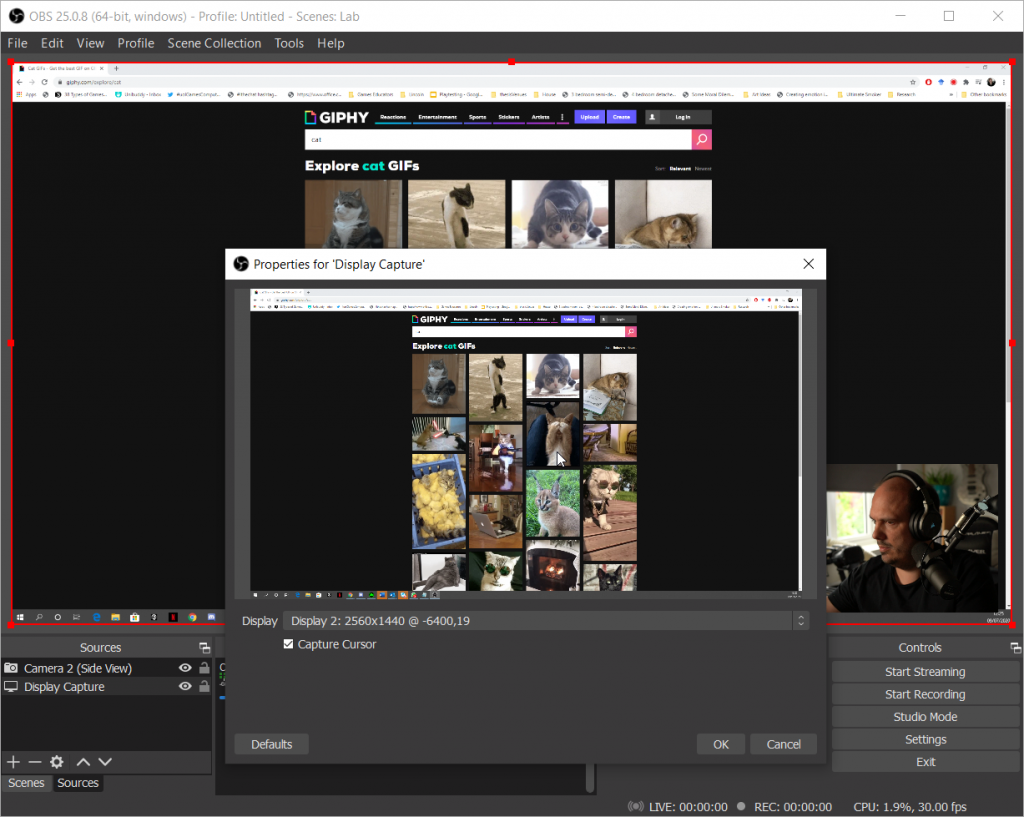
Cat GIFs! 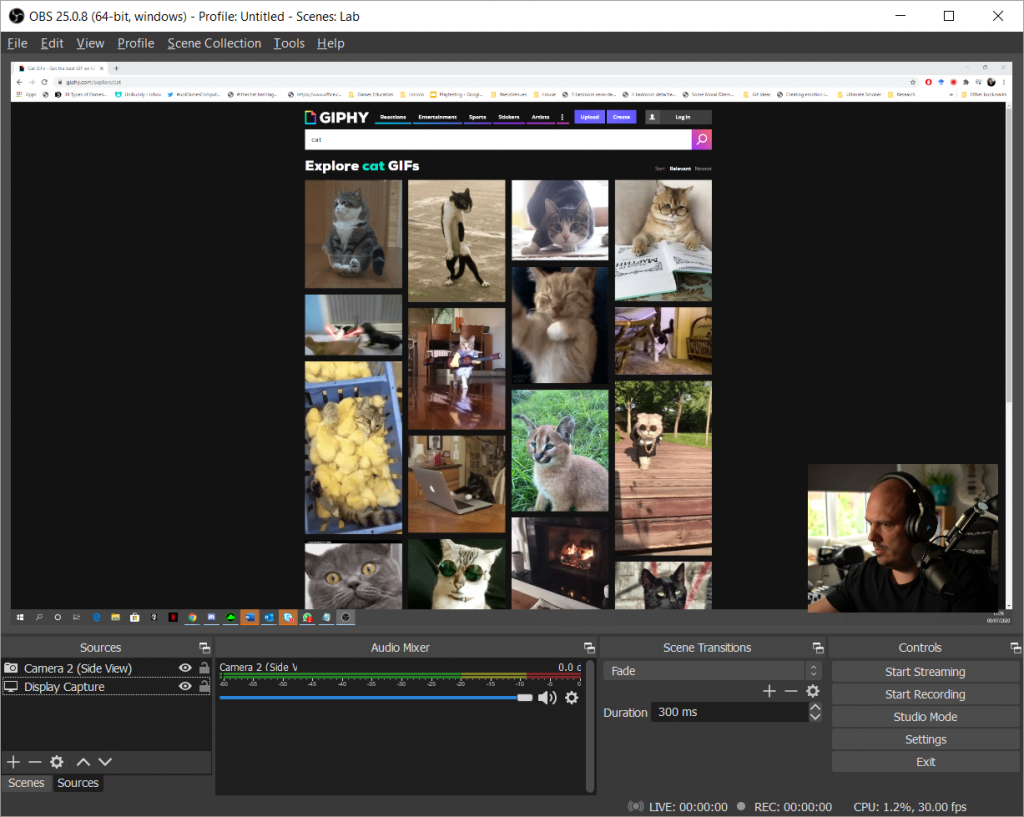
Make sure your sources are properly ordered so your camera is on top. 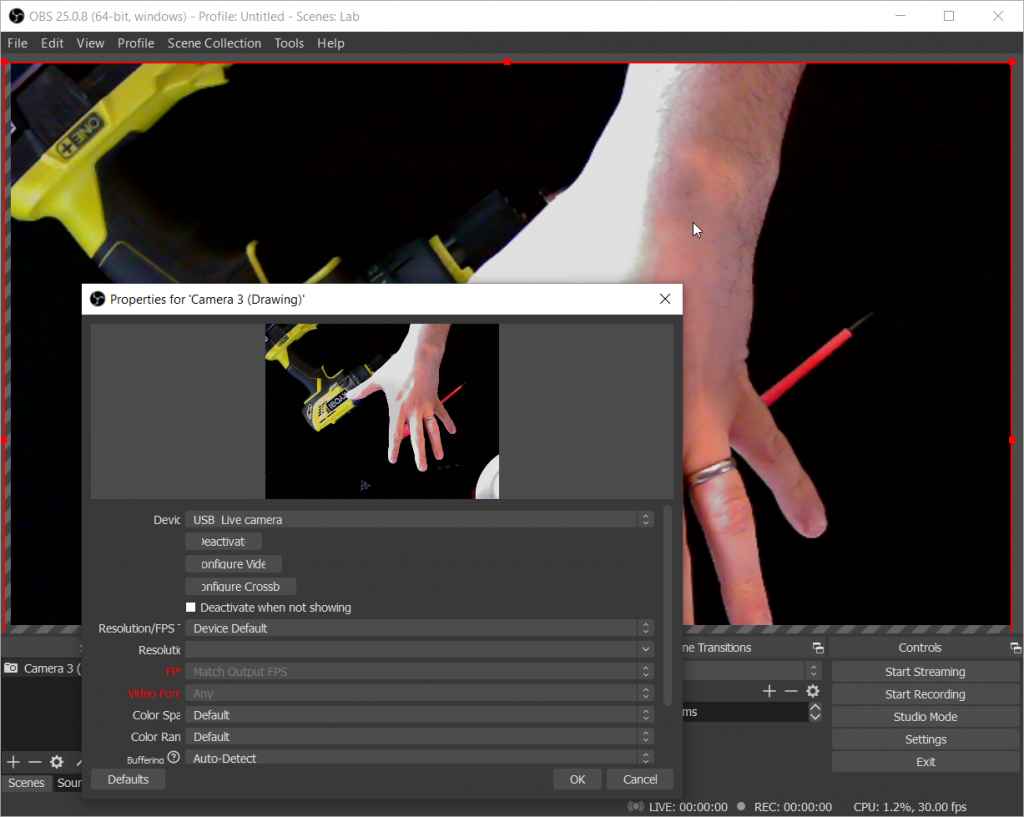
Finally I have added my drawing camera s a source to my drawing scene.
3) Decide on a Triggering Solution
To change scenes you simply need to click on the scene that you wish to present. You can change various parameters about the switch (including whether you fade (my preference) or jump between scenes. However, clicking between scenes can be a little bit clunky so you may wish to invest in a triggering solution.
Personally I use a Stream Deck XL. Stream Decks are (essentially) programmable keyboards with LCD buttons. You can assign a number of commands to them and decide on how you want the buttons to look. They aren’t cheap (the XL is £220 – but there is a more budget conscious Mini available at £80) but they are designed especially for the live-streaming market. This means that they are very intuitive to use, and they come with a lot of functions pre-installed. For example, they integrate seamlessly with OBS allowing you to quickly connect to the software and control the scenes.

This is the Stream Deck software. You can see the keyboard design on the left. On the right there are a number of tools you can drag and drop onto the keyboard. At the bottom, any selected button can be configured. In this example I have created a button to switch to my facecam. 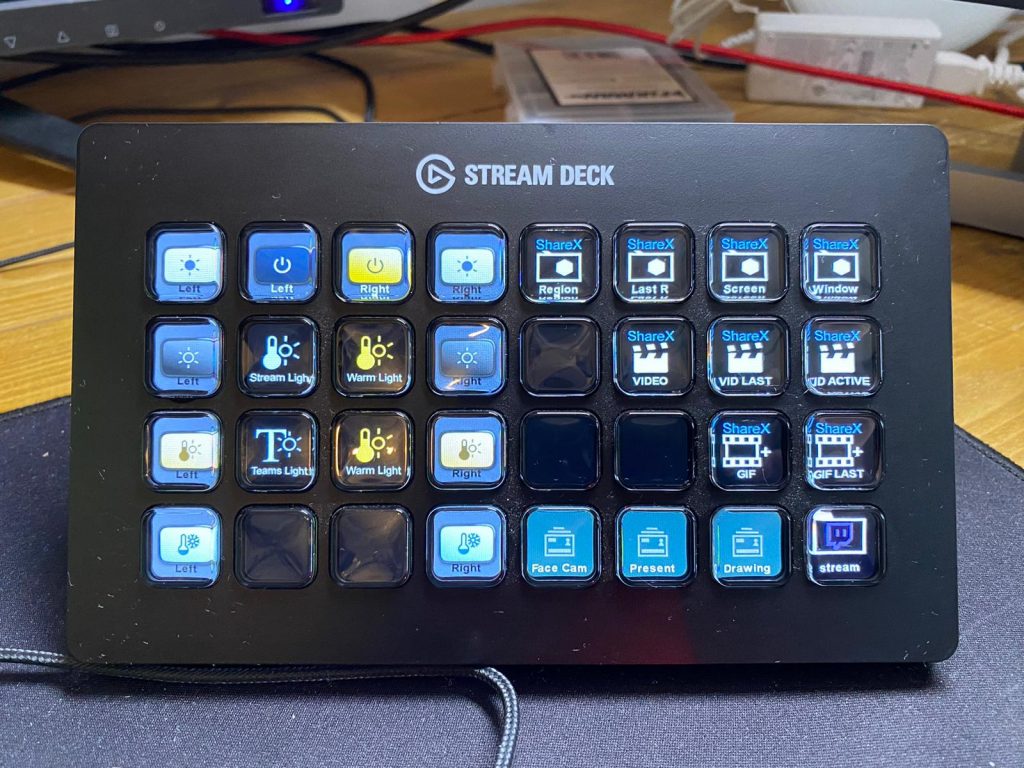
This is how the Stream Deck looks after being setup in the software.
Stream Decks also work effortlessly with a number of useful tools. For example, on mine I control my lighting with some pre-set conditions, I also control a screen capture tool. You can also trigger OBS to record scenes, making it easy to record specific parts of your session.
There are other triggering solutions available and cheaper programmable keyboards if you wish to use them. But in my experience, non are as easy to use (or as feature-rich) as the Stream Deck offering. They allow you to very quickly manage your broadcast environment. However, you can still do this manually, by directly clicking on the scenes in OBS if you wish.
Final Thoughts
I’ve presented one possible solution for the live-streaming of practical workshops or laboratory sessions. A multicam broadcast can open up a whole suite of options allowing you to seamlessly switch between viewing angles, microscopes, endoscopes, video players, or even games consoles (should you wish). Combine this with the OBS Virtual Camera (which I discussed in my previous post) and you can present this through Teams, Zoom, Collaborate, or whatever your institutional streaming platform is.
I’ve prepared a short video to show how this can work in practice.
Let me know in the comments if you are planning something like this in your practical sessions. I’d love to hear how everyone is planning on tackling this challenge.
No responses yet